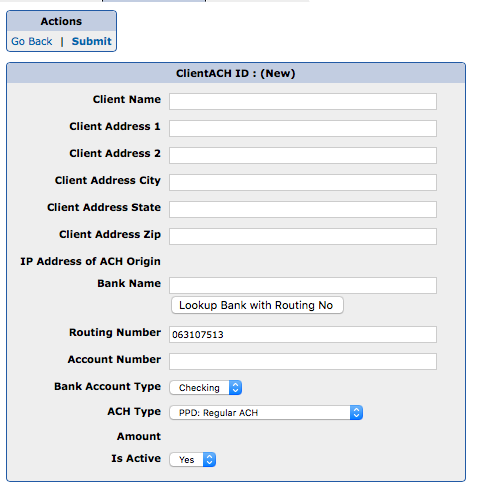
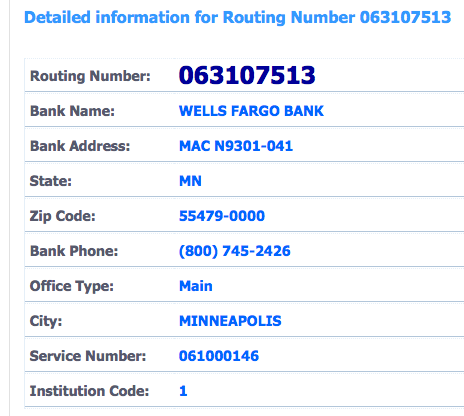
A button has been added when adding a ClientACH record that links to www.routingcheck.com to look up the Bank name of a given Routing number.
The bank information opens in a new window.
A button has been added when adding a ClientACH record that links to www.routingcheck.com to look up the Bank name of a given Routing number.
The bank information opens in a new window.
In order for the NH Monthly Fee to be correctly computed, the estimated program term in months must be set for Leads. Previously, Projected Months was manually set by the user.
Projected Months is now automatically set whenever a ClientCredit record is updated for a Lead in the LMA. This value will now match estimated program lengths displayed on the Contracts.
In order to comply with the NH DMP Monthly Fee rule, a new Monthly Fee Schedule parameter, projectedMonths, has been added.
This value is set in the Client / Admin tab and should be manually entered for all NH Clients.
Per: http://gencourt.state.nh.us/rsa/html/XXXVI/399-D/399-D-15.htm
V. The licensee’s fees shall be based on the total indebtedness as stated in the contract and shall not exceed:
(a) 10 percent when the plan of payment is for a period of 10 months or less; or
(b) 12 1/2 percent when the plan of payment is for a period of more than 10 months but less than 18 months; or
(c) 15 percent when the plan of payment is for a period of 18 months or more.
The following formula can be used for the NH Monthly Fee schedule:
NH:MIN:0,MAX:60,FORMULA:projectedMonths <= 10 ? payment*0.10 : (projectedMonths < 18 ? payment*0.125 : payment*.15)
The ternary operators “? :” are used to specify conditional logic and the formula can be read as this:
if projectedMonths <= 10 then use 10% of payment, else if projectedMonths < 18 use 12.5% of payment, else use 15% of payment
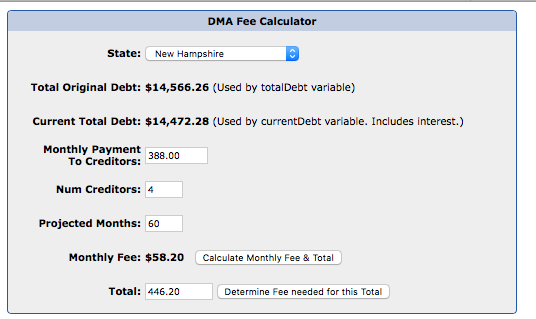
The DMP Fee calculator now includes a Projected Months field.
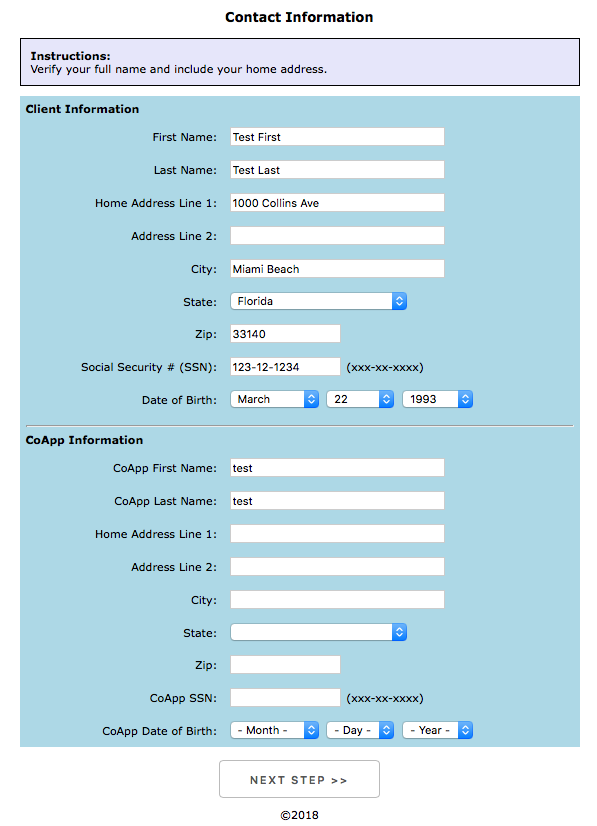
Step1 of the Extranet now displays the Client Date of Birth when showing the SSN.
CoApps information is also displayed but not required.
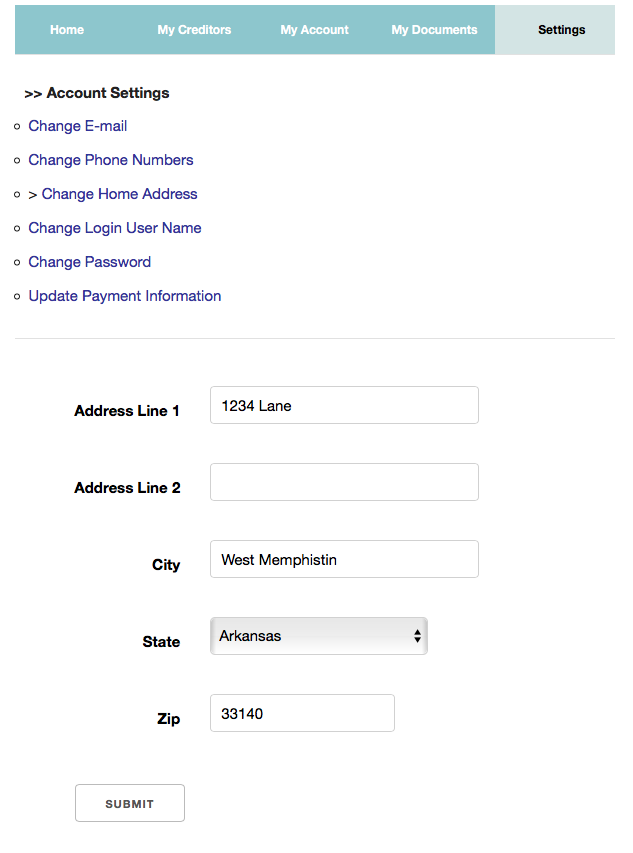
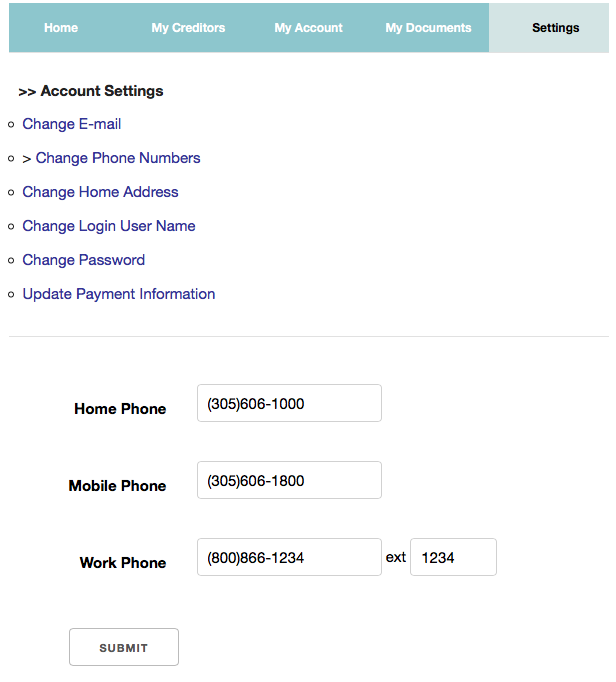
Using the Settings tab, Clients can now update their address information and and phone numbers.
CMA Reports/Views that have more than 4 filters allow you to save the current filters so that they can be recalled at another time.
To save the current filters, click on the Select a Custom Filter drop down and select Save current settings as a new Filter.
An input box appears to name the filter. Click on Save.
To remove an existing custom filter, select the filter and click on Delete.
To rename a filter, delete the existing filter and then add a new one with the current settings.
Report Filters are specific to individual User accounts.
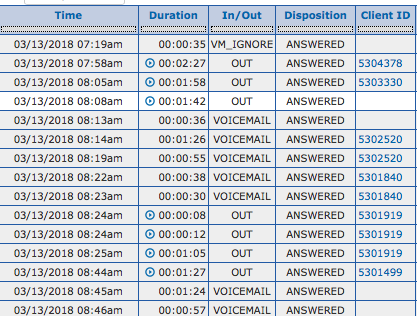
When a call recording is made in the FreePBX system, a playback icon appears in the Duration column of the Call Log in the CMA.
The recordings are either played back directly from the PBX or they are proxied via the CMA.
Recordings may be proxied through the CMA when firewall restrictions are in place on the PBX.
The following fields have been added to the PBX records in order to specify settings for the playback of recordings.
Recording URL: The URL of the PBX where recordings are stored. /getRecordings.php is appended to this URL
Playback Directly: from PBX If N, the call log recording is proxied through the CMA. This is useful if firewall rules on PBX block access to http port.
ClientCredit records can now be automatically linked with RPPS BillerIDs by clicking on Autofill BillerIDs.
A match will only occur if the Biller Account Mask contains more than 2 literal characters. Generic matching patterns are ignored as these could result in incorrect matches.
If the search returns Biller Masks with insufficient literal characters, a manual search is required and an appropriate message is displayed. The manual search can be performed by clicking on the search icon.
If no matches are found with the given account number, a message is also displayed:
When a match is found, the Biller names are displayed next to the BillerIDs:
The CMA is now integrated with the USPS API to perform city, state or zip lookup.
To lookup City and State by Zip, the Client’s City field must be blank. Enter a zip code and then change focus to the City field by either tabbing to it or clicking on it. The city will automatically be populated.
To lookup Zip, the Client’s Address, City, and State fields must have a value. Give focus to the Zip field. If a value is found, the 5+4 zip code is populated.
The DMP Response Date was previously only set after importing RPPS returns.
The Response Date is now updated for manual DMPs automatically.
This occurs when the Proposal Status changes from an original value of [Queued or Pending] to a status other than [Queued or Pending].
The following changes allow prioritization of the ClientCredit account that receives extra funds when Disbursements are automatically generated. This applies to Clients with Monthly Payments and not Clients with Split Payments.
New field: Default Extra Funds
When set to Yes, a message is displayed in the Monthly column.
When closing an account that has the value set to Yes, the following is displayed:
When generating Disbursements, extra funds that can be allocated will be added to the specified account.
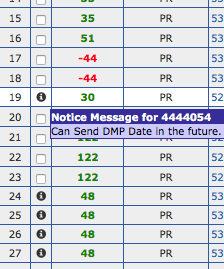
The DMP Proposal Generation view computes a Can Send DMP On date. This date determines when a proposal can be sent to Creditors. When the first or next Disbursement date occurs after a Daylight Saving Time adjustment, the computed date fell at 11pm the previous day.
e.g. when the Can Send DMP On date should fall on 02/24/2018, 02/23/2018 11pm was being computed. Because the hour is not displayed in the column, it appeared that the proposal should be available to transmit on 02/23/2018.
The logic has been updated to add 1 hour to the Can Send DMP On date to fix the issue.
In addition, there is a new Notice icon that details when a Proposal cannot be transmitted. The Error column has been combined into the checkbox column.
There is a new optional Setting variable that can be used to specify a DocumentTemplateID to automatically email to Clients when generating the Quarterly Statement. Example uses include a notice pointing the Client to the Extranet or the Quarterly Statement itself.
To use this option, under System Management/System Settings, set the value of DOCUMENTTEMPLATEID_DMA_QUARTERLY_STATEMENT_EMAIL to the DocumentTemplateID of the email to be sent to Clients when the system generates the Quarterly Statement.
When editing a Creditor in the DMA, the Clients tab has a new Phase filter and column. Previously, only Phase Client was displayed in the results.
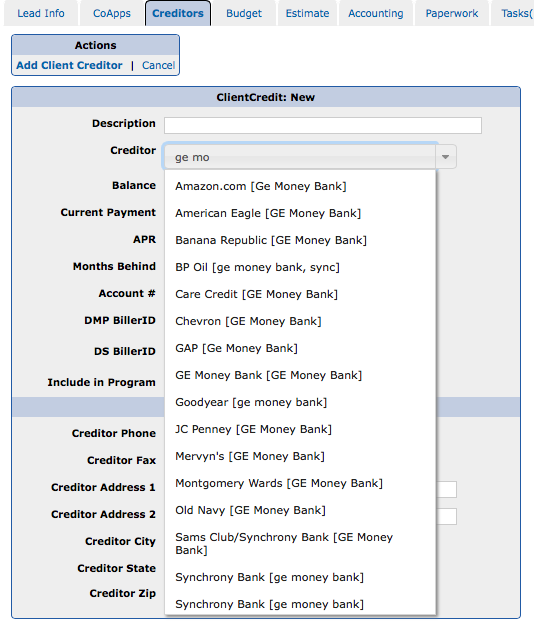
Creditor Aliases are now displayed in the Creditor dropdown within brackets [] in the LMA. The Aliases are searchable.
When searching for a Creditor, e.g. “ge money”, all Creditors that have that value within their Alias are displayed.
Aliases are specified in the DMA/Creditor section.
The Manager Report now has an Export View button that will export the contents of the view.
This is in addition to the Export Client Information as CSV Action which generates a file with Client address and Creditor information.
A Zip column as also been added.
Starting with version 10 of the CMA, a list of new features will be detailed on this site. Please check back to see what’s new.
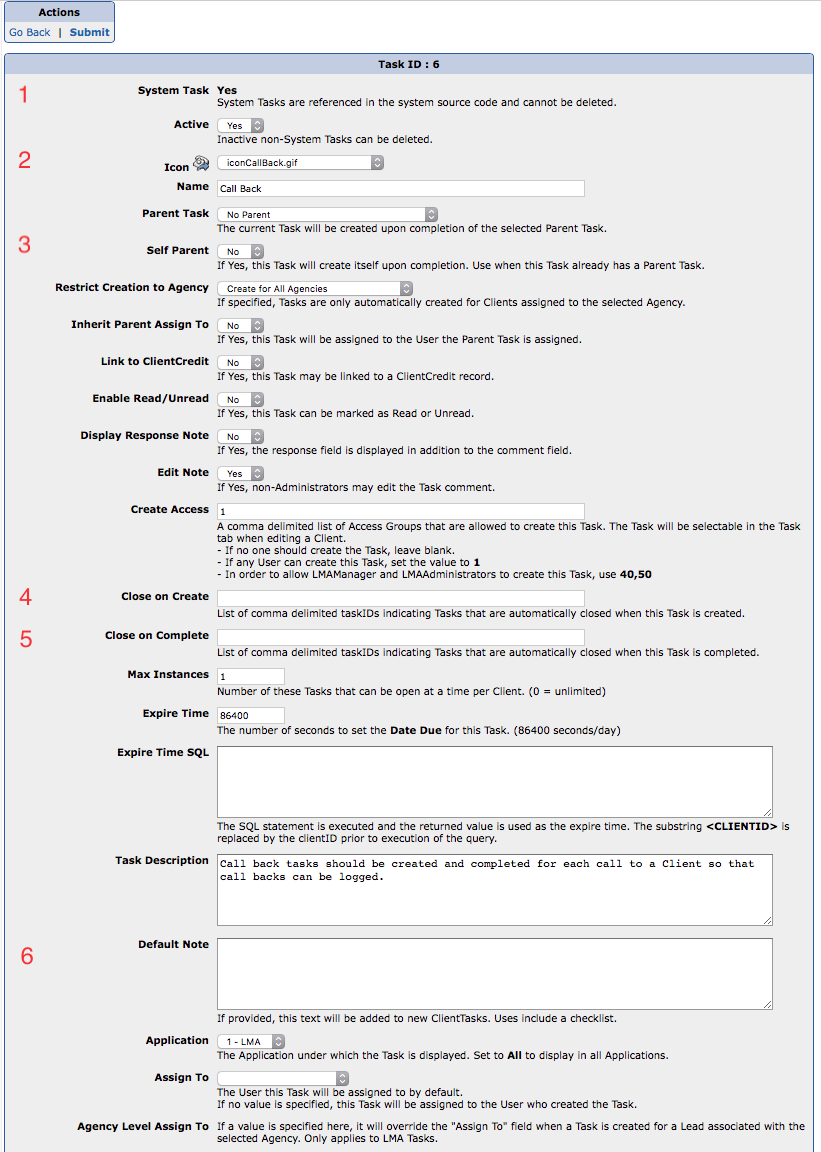
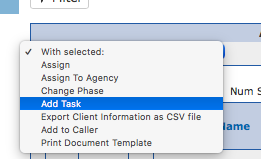
In order to provide the capability for a more customized workflow experience, the following modifications have been made to Task functionality in the CMA.